Generating Samples for Deep Learning Models in ArcGIS Pro

Translated from the original Portuguese article. Ler o original em português
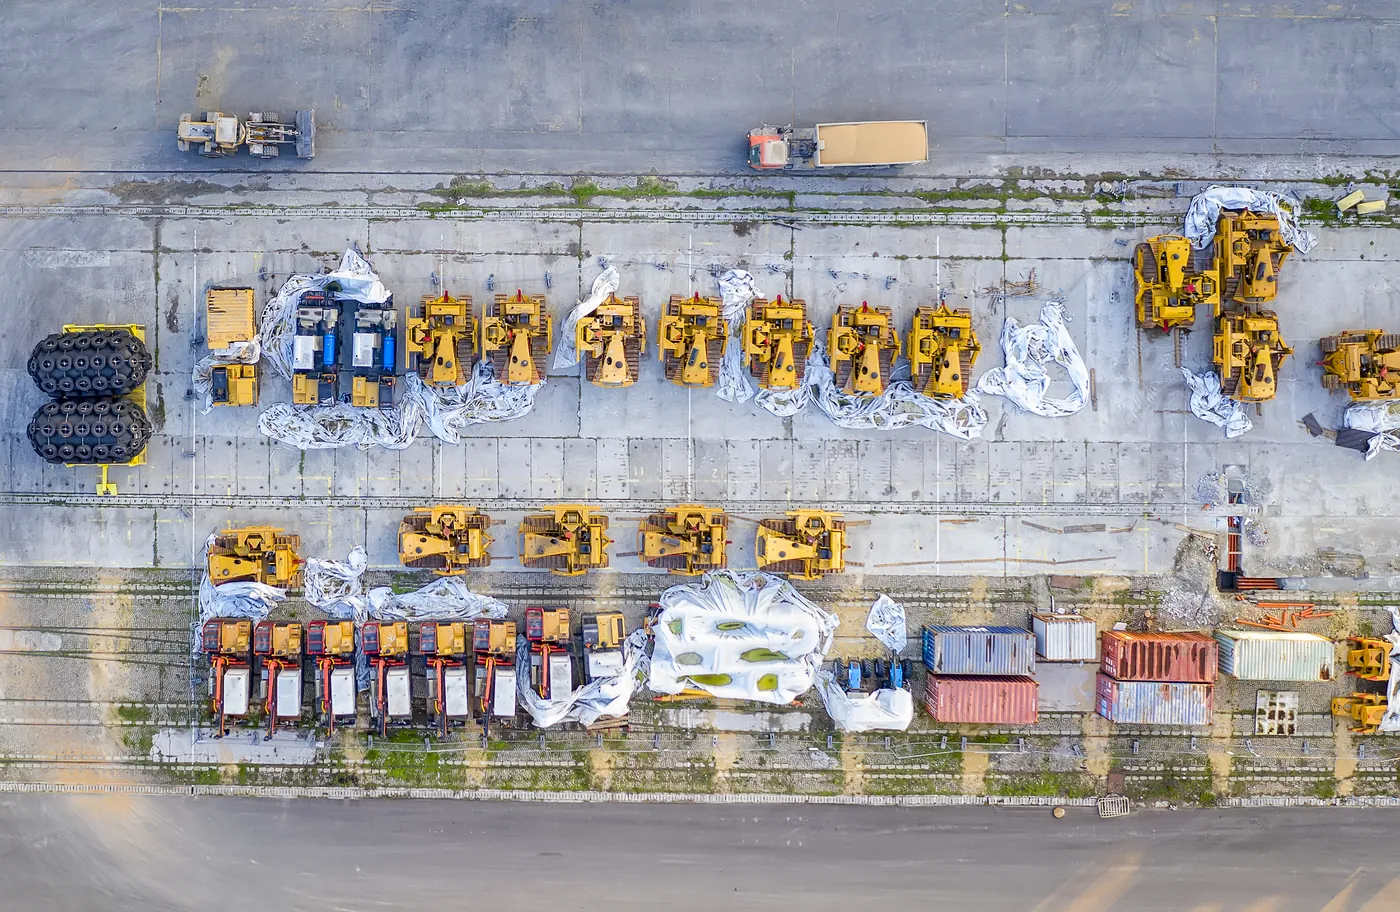
Many people who are starting out in data science don't know how those image samples come about, all neat and ready for building deep learning models and then putting them into production.
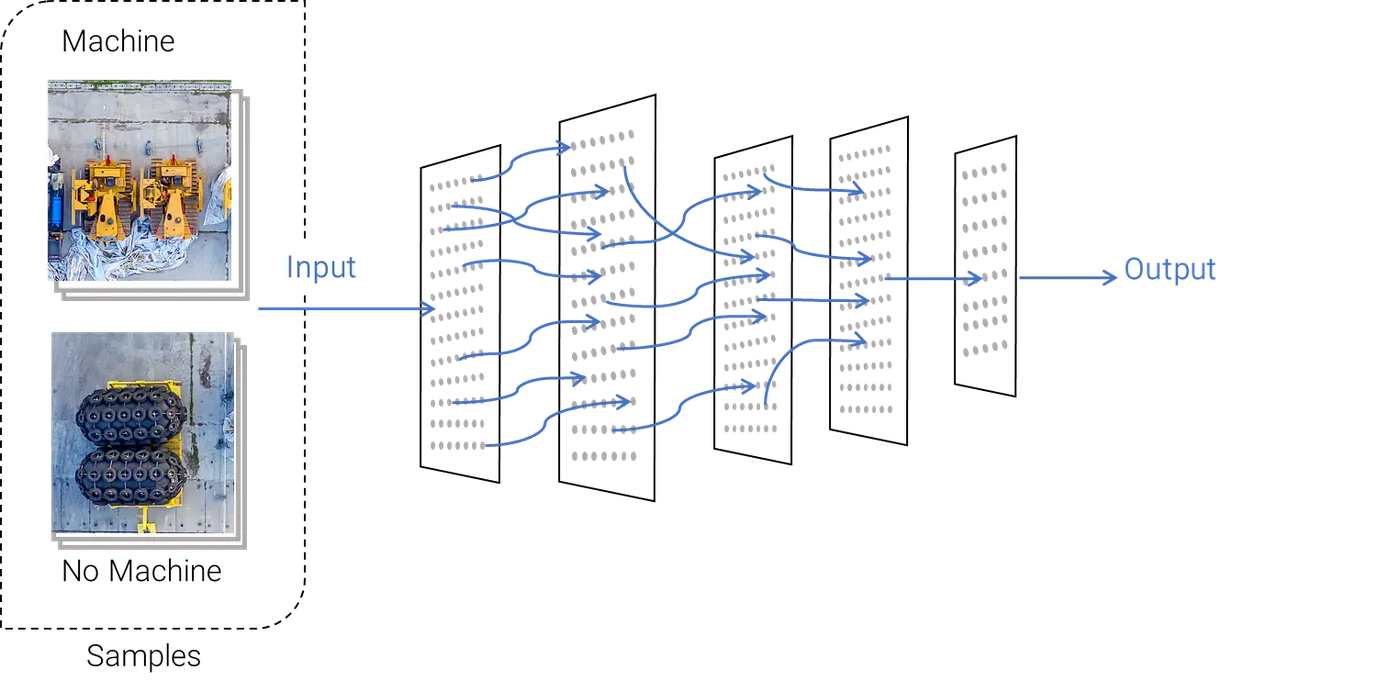

In this article, I will show you an ArcGIS Pro tool that helps us extract image samples, labels and augmentation, while also leaving everything in the right format for each problem and neural network architecture we are going to work with.
But first, I need to explain what ArcGIS Pro is. This tool, developed by Esri, is an evolution of ArcMap, and its core functionality was basically to perform spatial analyses and create maps.
Today, however, there is a wide range of other tools that make up a platform where you can do almost any kind of work, including building deep learning algorithms for object detection and for classifying both images and videos.
Process workflow
The workflow for extracting these samples basically follows these steps:
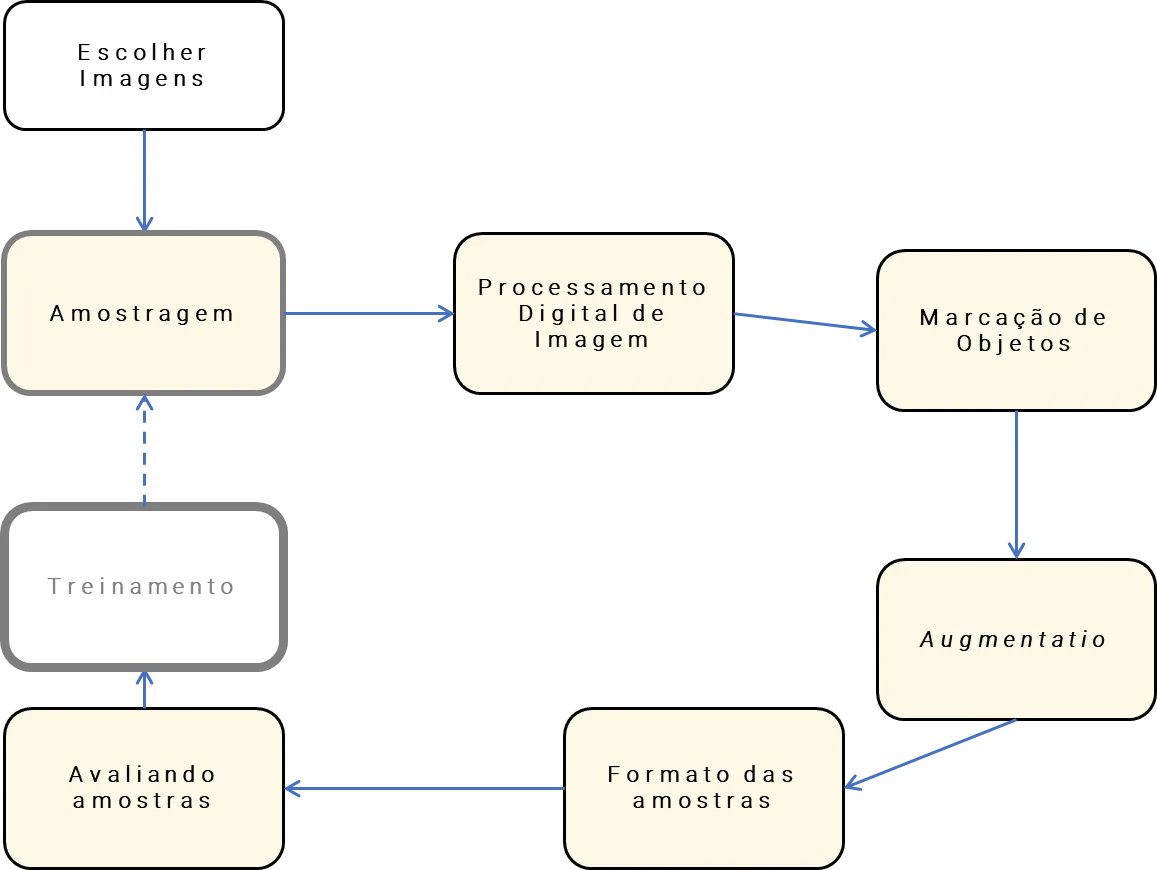
First, you select the images based on how meaningful they are for the training process, for example, when you are working with satellite images and some of them have a lot of cloud cover.
After that, the actual sample export begins. As in any computer vision work, digital image processing is extremely important at the start: applying convolutional filters, noise filters, band compositions, fusion and everything else that needs to be done, but let's leave that topic for a future article.
Of course, you can build an image processing filter that helps you see a certain piece of information, create masks and automate this process. But depending on the problem, when the targets are very specific, labeling will be done manually and will require a dedicated team, and in general you can expect it to take around 30% of all the time spent building a model.
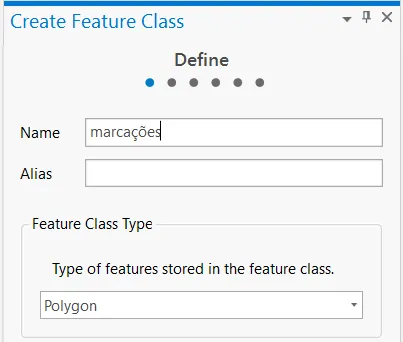
In the ArcGIS Pro interface this is simple: you just create a polygon vector file, such as a Feature Class or a shapefile. For now, I'll just mention that these are both spatial file formats; I'll explain them better in another article.
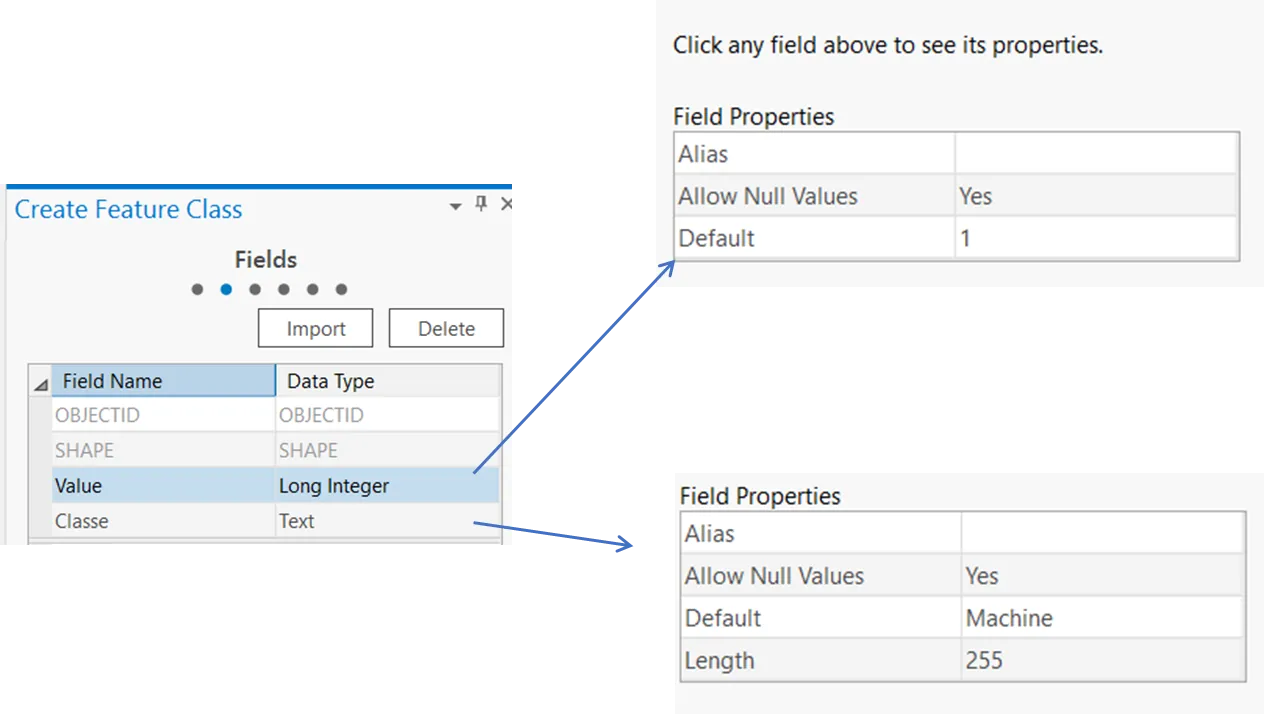
Then you set up the Class and Value attributes in that file, and you can already define them as Default, which helps speed up the labeling work, provided, of course, that the task you are working on has only one class to detect.
This is what the labeled images look like in the end.
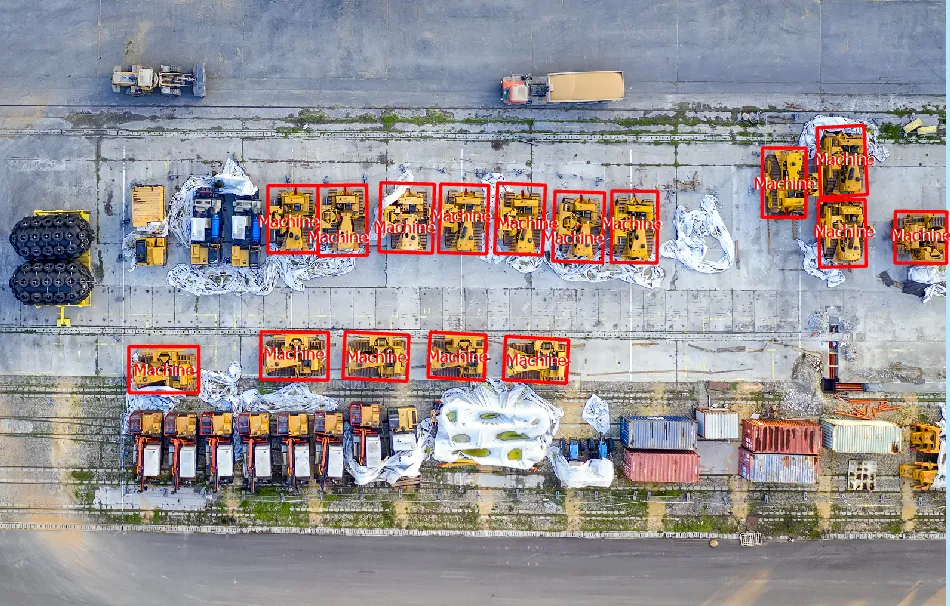
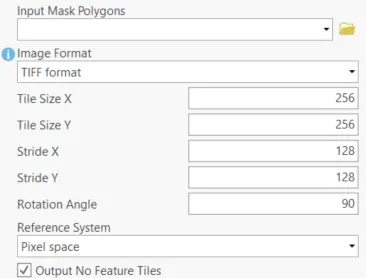
Exporting the data is now simple. Using an existing ArcGIS Pro function, you just choose the input image and the directory where your collection will be exported.
We also pass in the labels I just showed, as well as the Class Value Field, which will be that Default attribute. You can also set a Buffer radius for the labels, which is useful when labeling points and lines.
Now we can perform image augmentation, the process of increasing the number and variety of samples. We usually have five parameters we can change: Size, Stride and Rotation.
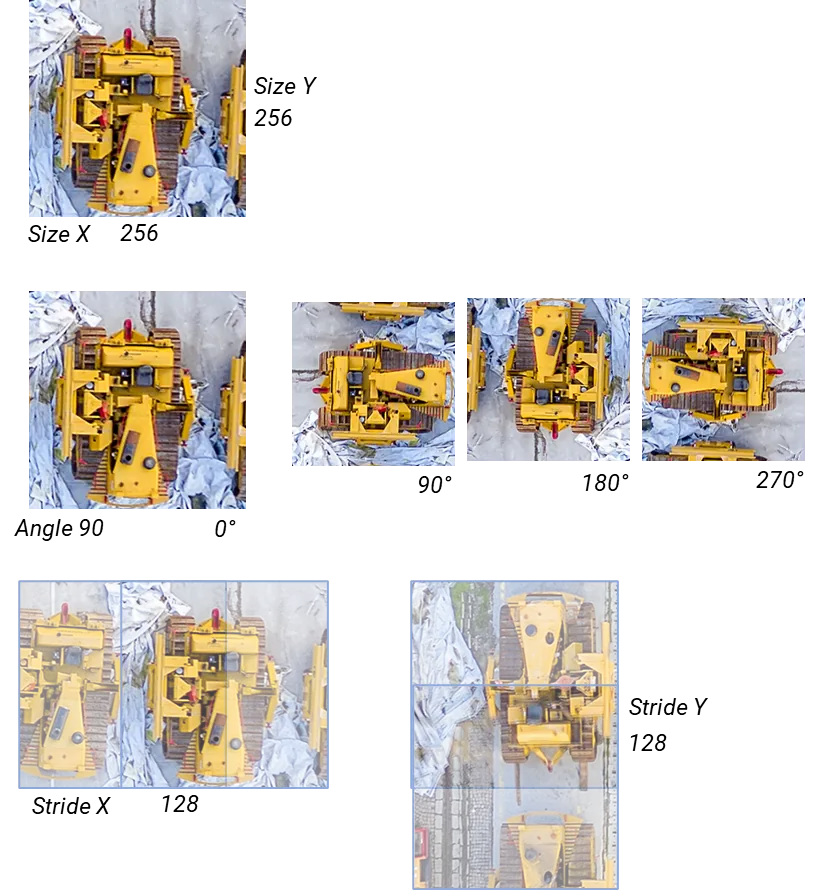
- Size X and Y: size of the images in pixels.
- Stride X and Y: the overlap in pixels between images in the X and Y dimensions.
- Rotation Angle: a function that basically rotates the images in steps of the given angle.
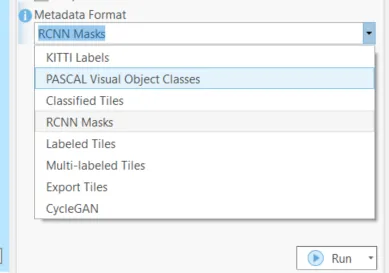
One of the advantages of this tool is that it can export the samples in the format best suited to the type of model being developed: it can export in the RCNN format, in Classified Tiles for models such as UNET, or even just export the Tiles if the model you are developing is not a specific one.
At the end, we can also get a report view of the extraction run, showing the class balance, image sizes and everything else you will need for good training.
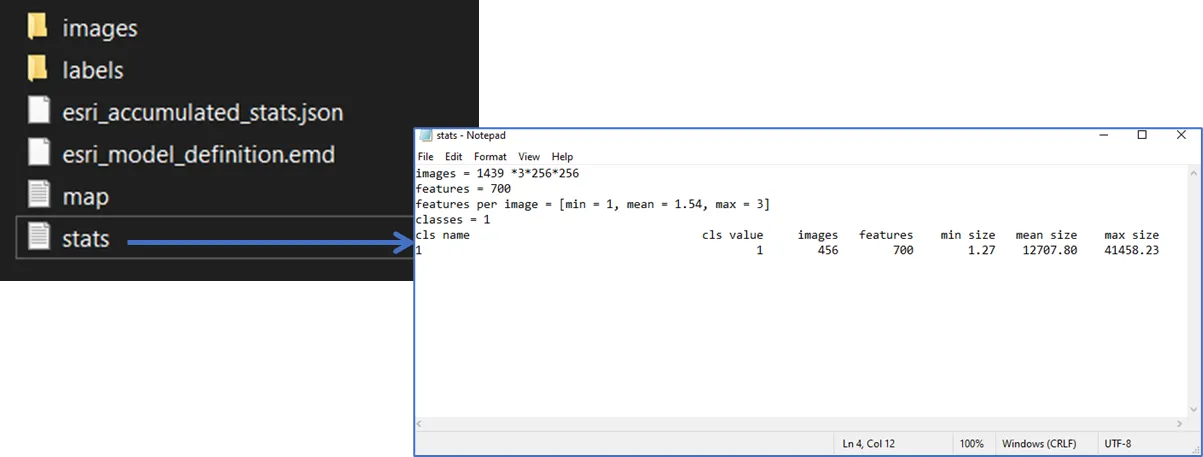
Of course, all of this can be automated with just two lines of code, except, of course, for labeling the objects.
Import the Arcpy libraryimport arcpy
imagem = "imagem.tif"
diretorio = r"D:\amostras"
arcpy.ia.ExportTrainingDataForDeepLearning(imagem, diretorio ,"features", "TIFF", 256, 256, 128, 128, "ALL_TILES", "RCNN_Masks", 0, "Value", 0, None, 90, "PIXEL_SPACE", "PROCESS_AS_MOSAICKED_IMAGE", "NO_BLACKEN", "FIXED_SIZE", None)